This reading provides a high-level understanding on how to craft an email in a leading digital marketing tool. The goal of this reading is not to take you through every single step of an email marketing campaign, but instead to provide you with an overview. There are links at the bottom of this reading for resources where you can learn more about this tool.
Capabilities in HubSpot
HubSpot allows users to manage all their marketing channel activity in one place. When it comes to email marketing, you can use HubSpot for many different email marketing tasks.
The image below illustrates actionable steps in the email marketing campaign process with HubSpot. First, you set a goal for your business. Next, you manage your contact database and segment those contacts. Then, you create personalized and targeted emails and decide when each user should receive those emails by selecting the delay time between email sends. You test your emails, and finally, you analyze your email performance.
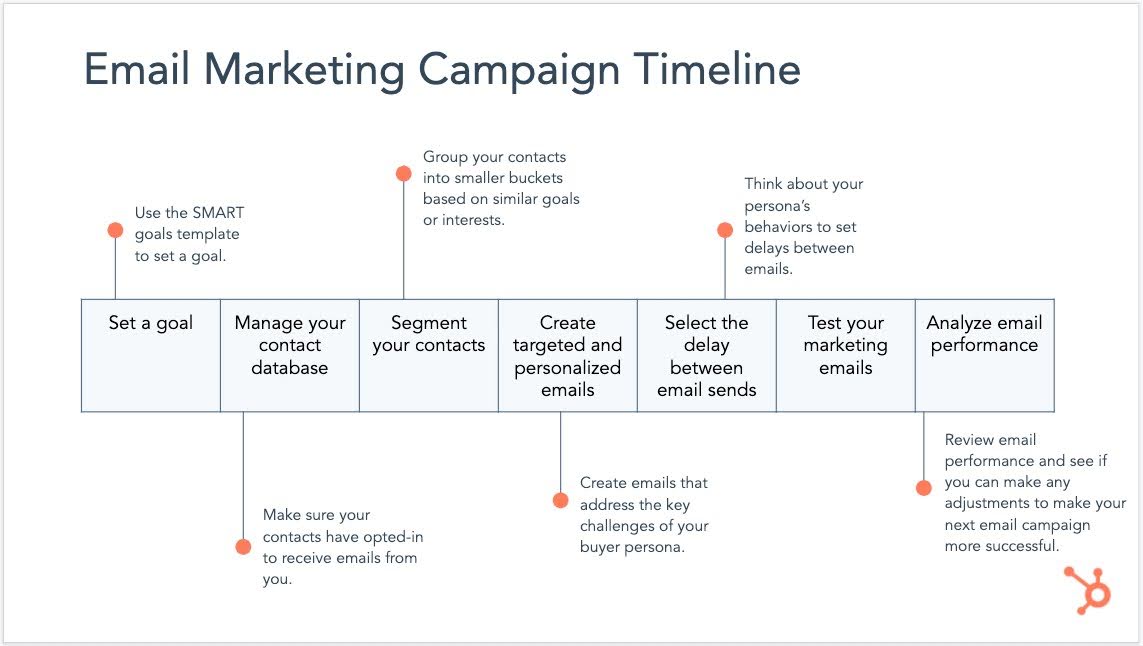
An email marketing campaign timeline on HubSpot’s interface. An email marketing campaign timeline on HubSpot’s interface. The steps included are: set a goal, manage your contact database, segment your contacts, create targeted and personalized emails, select the delay between email sends, test your marketing emails, analyze email performance.
HubSpot offers their email marketing tools at no cost. Set up an account and start exploring. Then, keep reading to learn how to craft an email in HubSpot.
Crafting an email
Creating an email that will engage your subscribers is a huge part of a successful campaign. Tools like HubSpot help to make that process easier. Next, you’ll learn about HubSpot features that can help you write an effective email.
Creating the email
Once you’ve created your HubSpot account and logged in, navigate to Marketing > Email.
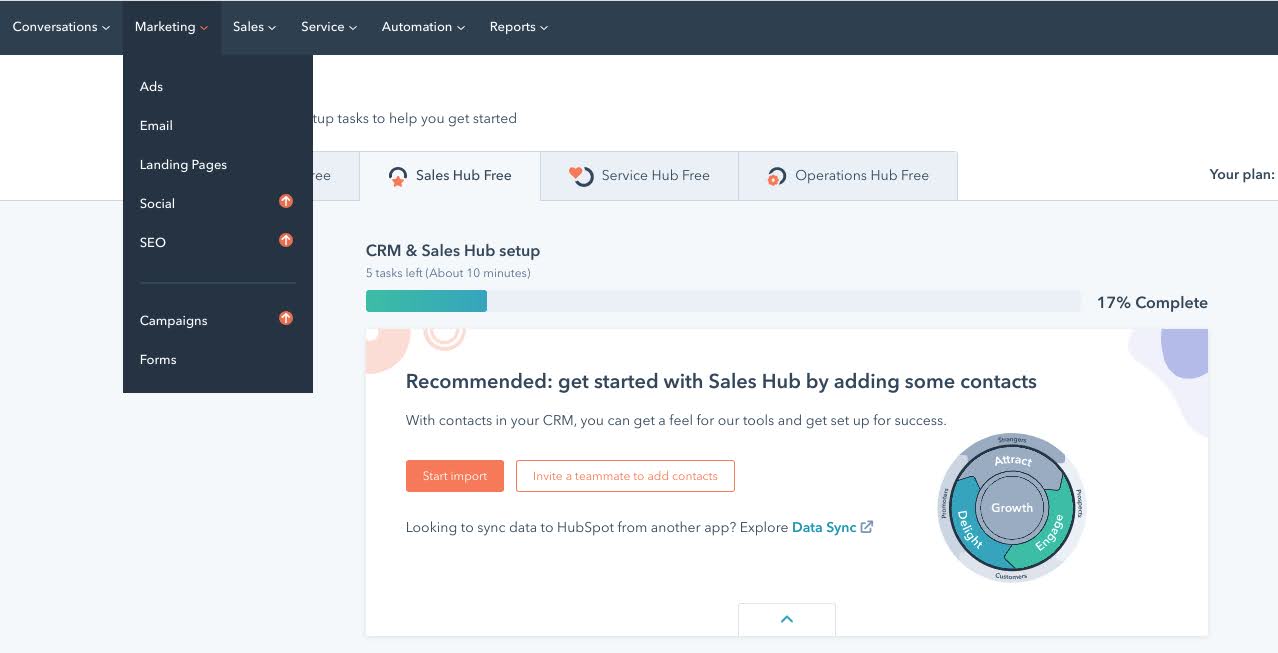
HubSpot’s main interface showing the marketing panel menu. The word email is selected as if it’s about to be clicked.
Then, click Create email, and select a template. Using a template allows you to have a professionally designed, uniform look for each of your emails. If you opt to use a template, you can customize it by adding elements from the Content panel on the left side of the page. Drag and drop images, buttons, social media icons, text, videos, and more.
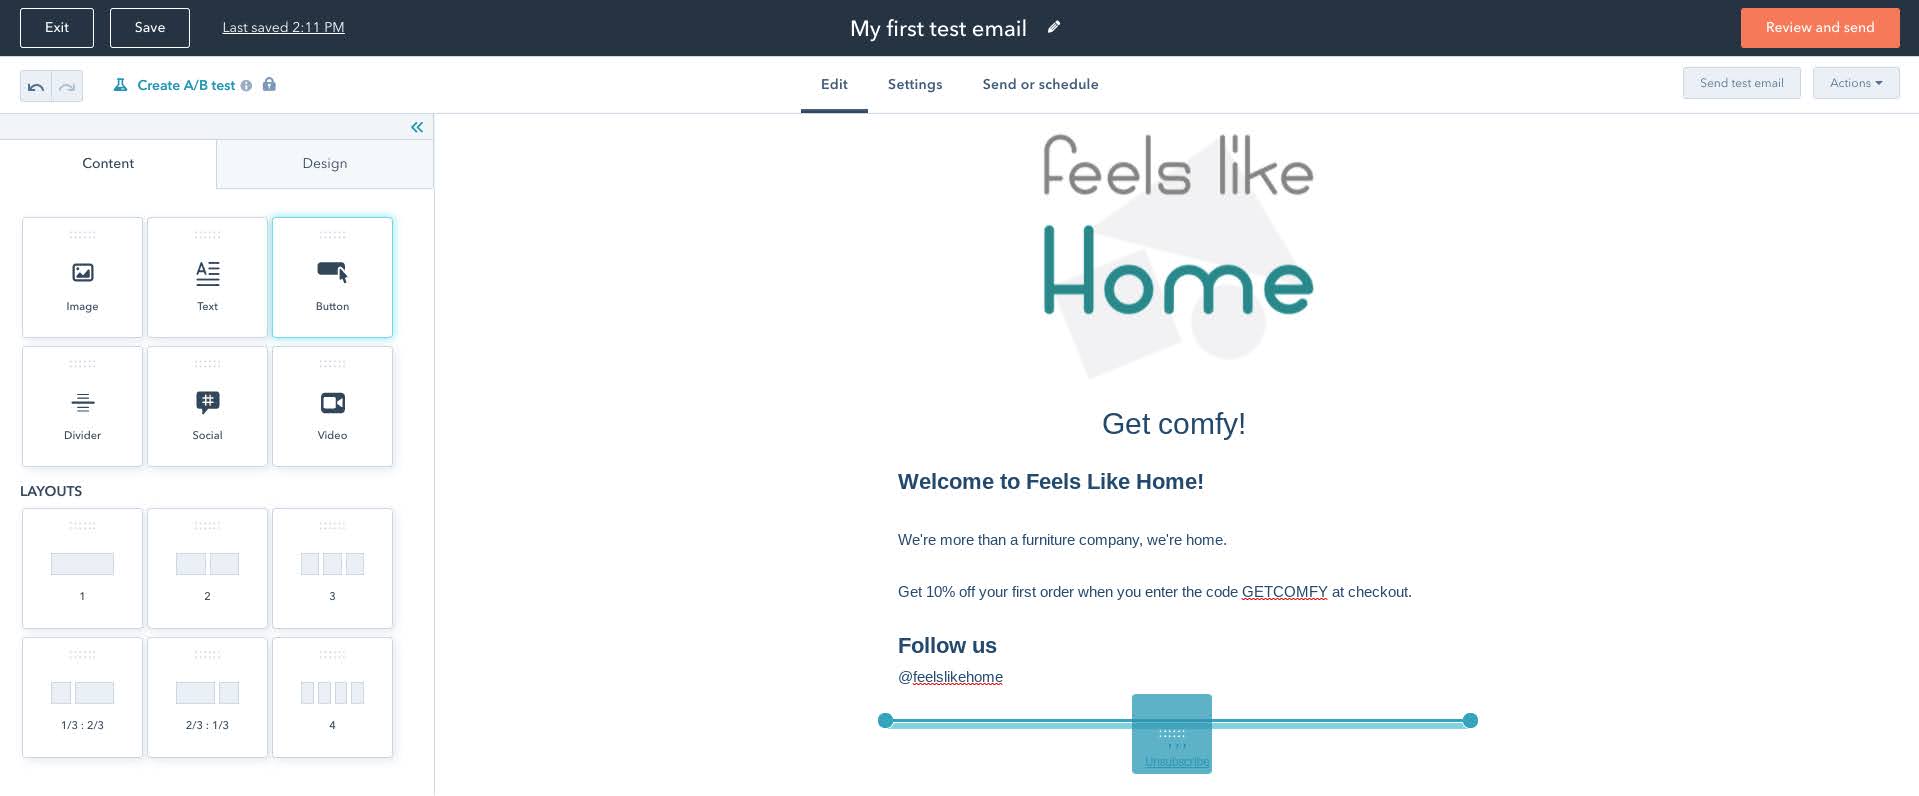
HubSpot email editor tool with an example email from a fictional furniture company called “Feels Like Home.”
When dropped into the email editor tool, each element can be customized and tailored to look the way you want. To move items after they’ve been placed in the email editor panel, hover over them and click on the blue edge. Then, drag them to new positions.
Try out and explore these features to get an understanding of the customizable elements. For example, if you want to add a button that prompts readers to “Shop Now,” you can adjust the copy, the length of the button, the spacing around the button, and much more.
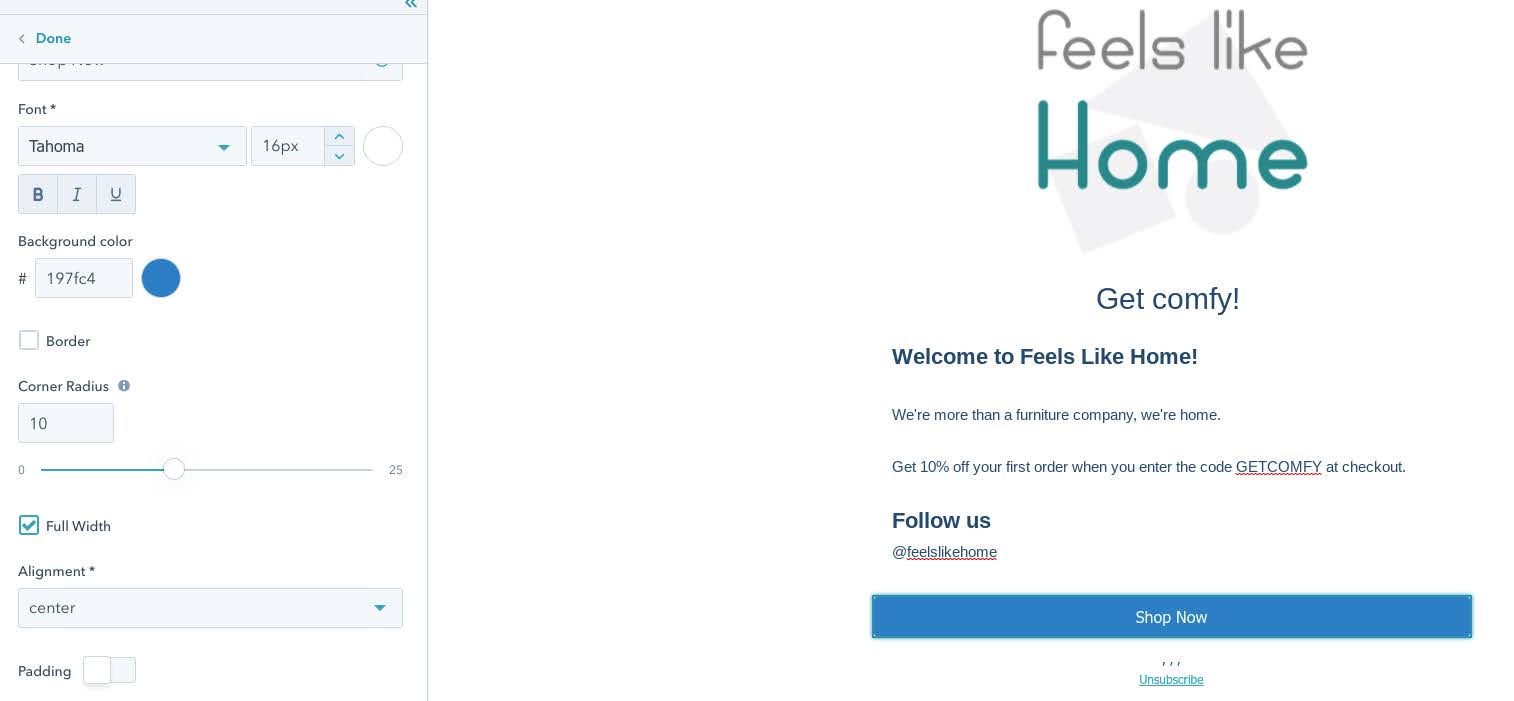
HubSpot’s email editor tool showing how customizable each element is.
Next, click on the Design panel and change color schemes, fonts, headings, spacing, and other elements. To prompt the Section settings panel to appear, click the gray area just outside the email content. This will allow you to add various columns, and customize spacing and patterns for that section of your email.
While several elements are customized in the left panel, text is customizable through the toolbar at the top of the page.
To undo any errors you’ve made, use the undo icon in the top left corner of the email editor.
To read about personalization, editing email footers, advanced settings, and more, visit this page.
Previewing and sending the email
Before you send your email, preview it by clicking the Actions dropdown menu, and select Preview. In the Devices tab, you can preview the email on desktop and mobile. You can even opt to view the email as each particular contact. To do that, click the Preview as specific contact dropdown.
To read all about sending test emails and setting up A/B tests, visit this page. After you’ve tested your email, you’re ready to send it. At the top of the screen, click the Send or schedule button. Click the Send to dropdown and add the list(s) you wish to send the email to. To ensure you exclude subscribers you don’t want the email to go to, add them to the Don’t send to dropdown.
You can either Send your email now or or you can Schedule for later.
Additional Resources: