In this reading, you will get a high-level understanding on how to craft an email in a leading digital marketing tool. The goal of this reading is not to take you through every single step of an email marketing campaign. There are links at the bottom of this reading for resources where you can learn more about this tool.
Capabilities in Mailchimp
Mailchimp is a marketing automation platform that allows businesses to reach out to their target audiences via email campaigns. Mailchimp is an industry leading tool for many reasons. It allows marketers to grow, manage, and segment their audience for more targeted marketing. Mailchimp also offers a customizable email builder that comes with a variety of templates and design tools, which will get into shortly. Finally, Mailchimp offers advanced reporting tools that help track campaign performance and results.
Crafting an email
Creating an email that your subscribers will engage with is a huge part of a successful campaign, and tools like Mailchimp help to make that process easier. In Mailchimp, you can create a Regular email. Then, using a campaign building checklist, you’ll add recipients, adjust your settings, and choose your template. But first, you will want to sign up for a free account here.
Creating the email.
Once you’ve created your Mailchimp account, click the Create button. Then, select Email. Choose Regular, Plain Text, or Template. Enter your campaign name when prompted.
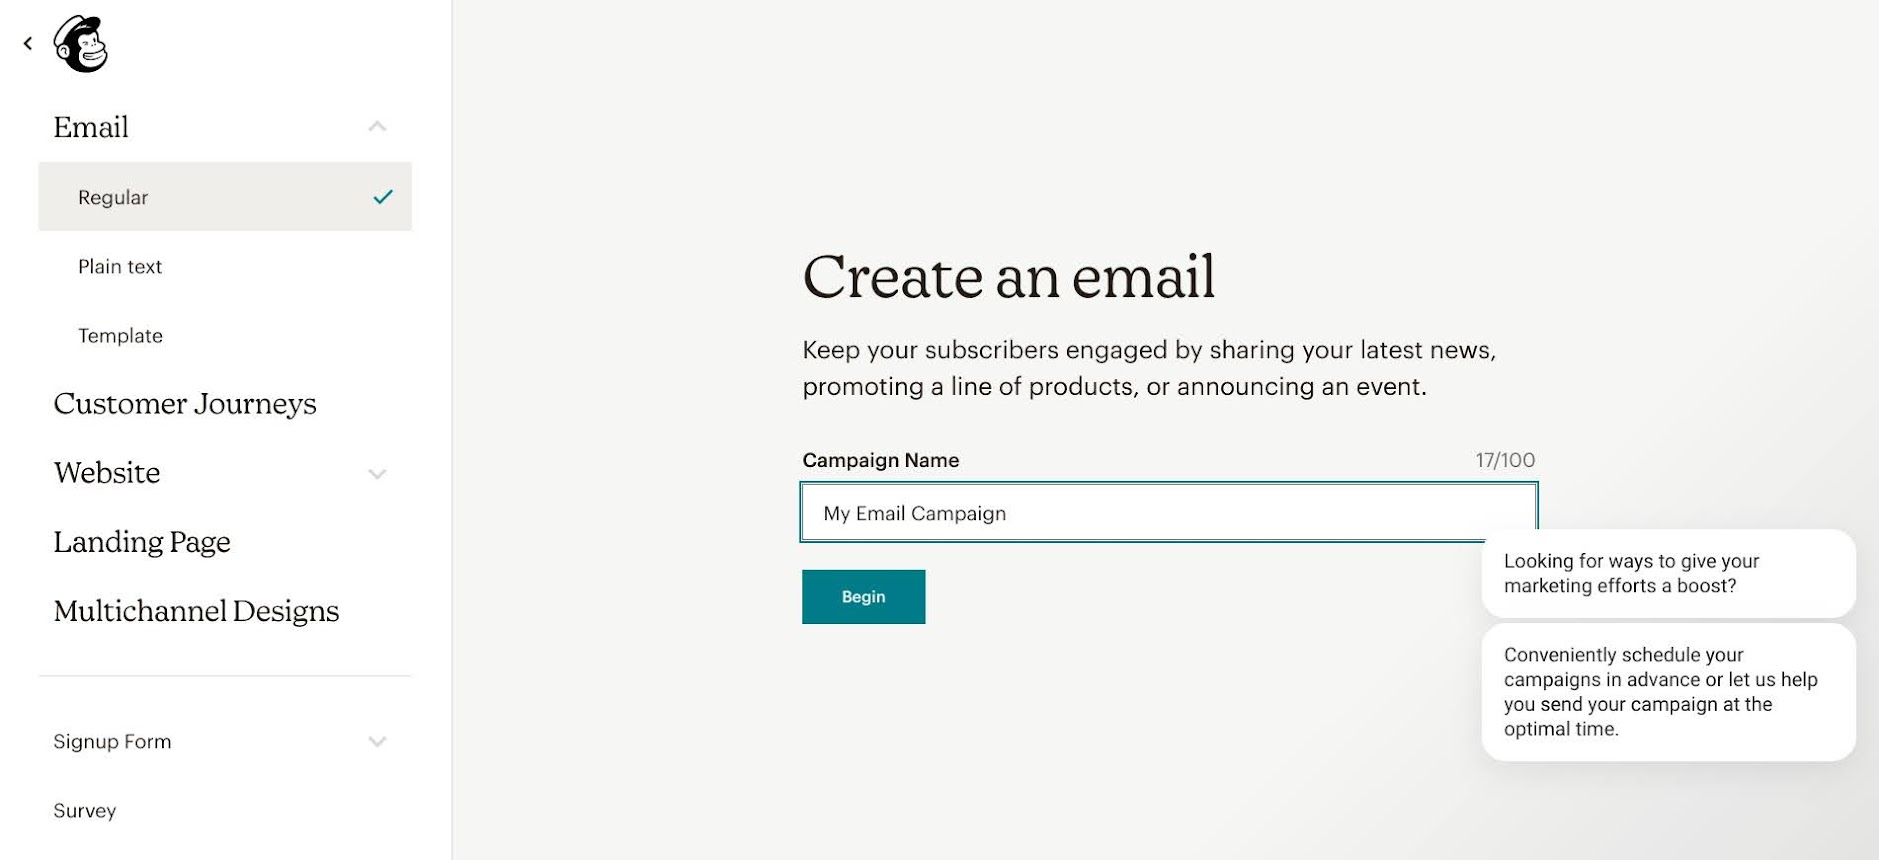
Mailchimp’s email marketing interface, with the campaign name filled in by the user.
This name will only appear in Mailchimp, and will not be seen externally by any of your contacts. Click Begin to start creating. A checklist will become available at this step that will help guide you through each step. A green checkmark will appear as each step is completed.

Mailchimp’s email campaign interface that shows the sections: To, From, Subject, and Content.
Click Add recipients to select the audience you want to send this email to. Select your chosen Audience in the dropdown menu, and if you want to add a certain segment or tag, feel free to do that from the dropdown menu that says Segment or Tag. Personalize this email by clicking the Personalize the “to” field.
To adjust the From email that will appear in your readers’ inboxes, click on Edit From. Feel free to change the name and email address that appears in the Name and Email Address fields if you need to. Save those settings and move on to the Subject section.
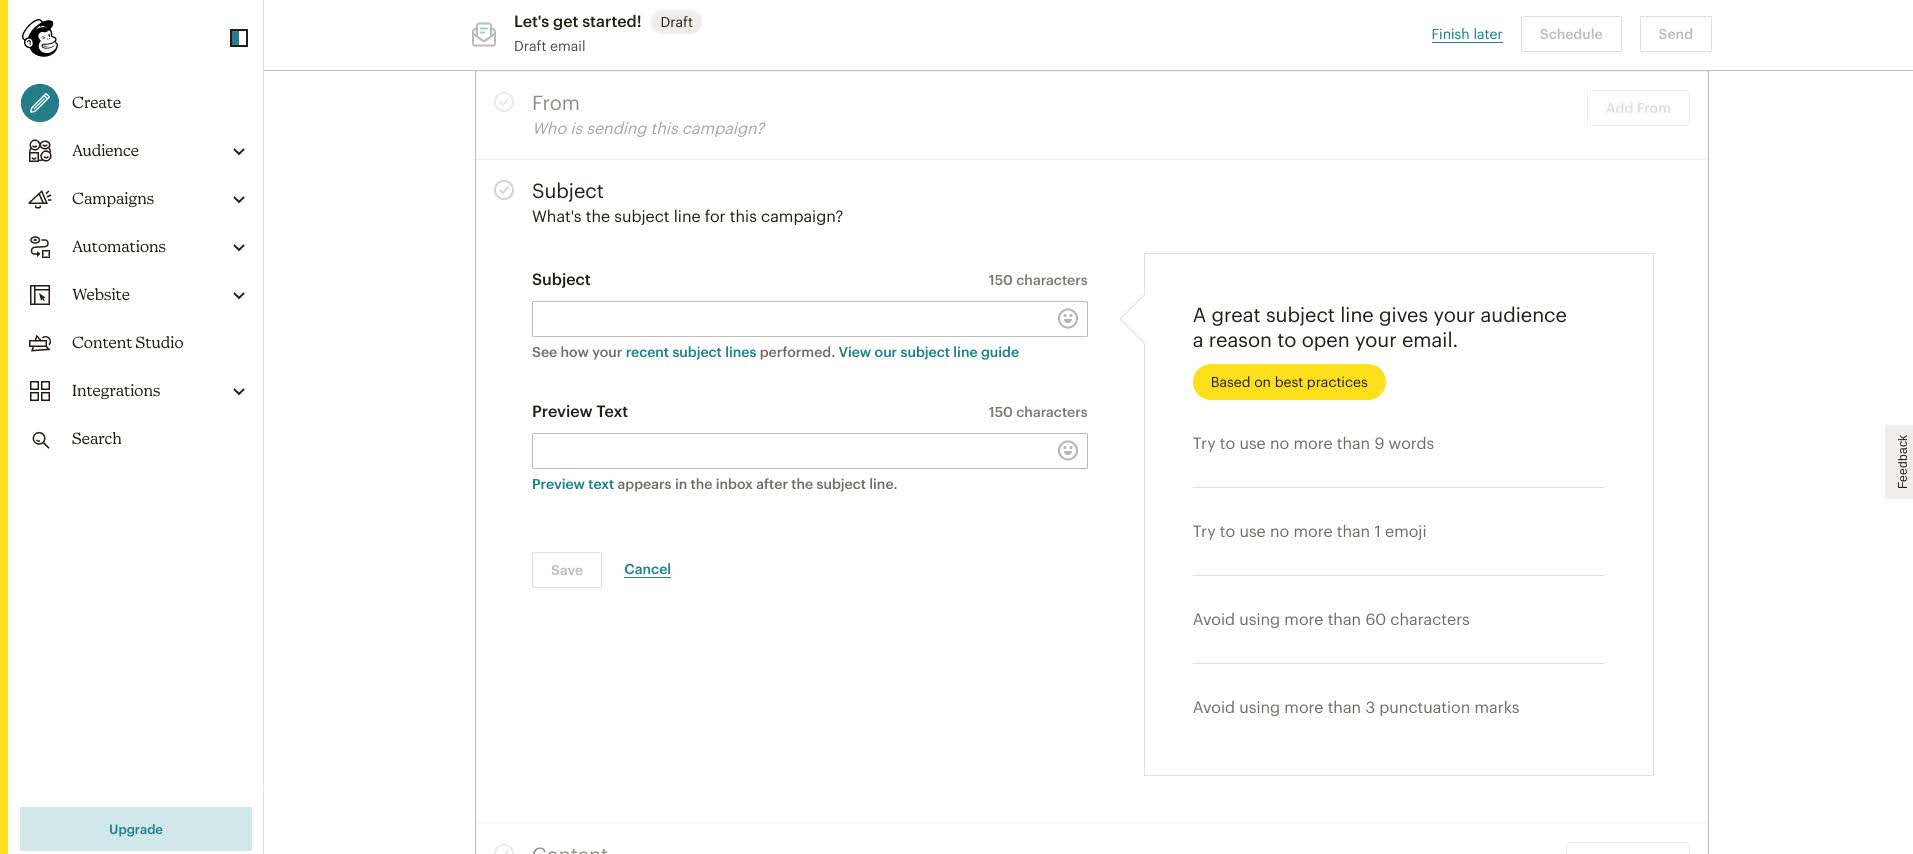
Mailchimp’s email campaign interface that shows the Subject section, where the subject line and preview text can be adjusted.
In the Subject section, you can adjust the subject line and preview text. Click save.
Next, you’ll want to design your email. Click Design Email. Mailchimp has several predesigned templates that you can choose from by clicking into the Layouts panel. When you choose one, you’ll be able to customize the template for your brand and message. Add a new image by clicking the Image button in the design panel on the left side, and add elements like text boxes, videos, images, new buttons and more, by hovering over the Plus signs in your template.

Mailchimp’s email editor interface, including buttons to add text, images, footers, dividers, image cards, videos, and more.
Preview and send the email
Preview your email by clicking Preview. Toggle between the images of the computer monitor and the phone to preview it on desktop and mobile.
Click Continue and you’ll be taken back to the checklist screen. Make sure there are green checklists next to each step to ensure you’re ready to send. Feel free to scroll down and examine any other settings that you may want to change.
After you’ve completed the To, From, Subject, and Content sections of your email, you can opt to schedule your post or send it now. Do so by clicking either the Schedule or Send button. Please note that the schedule feature is only included with Mailchimp’s Essentials plan or higher.
For more information on Mailchimp’s email capabilities, visit the additional resources below.